Store Settings
The store settings allow you to adjust the overall theme of the store, button color, banner graphics, store logo, and store currency.
These settings are applied to all vendors by default.
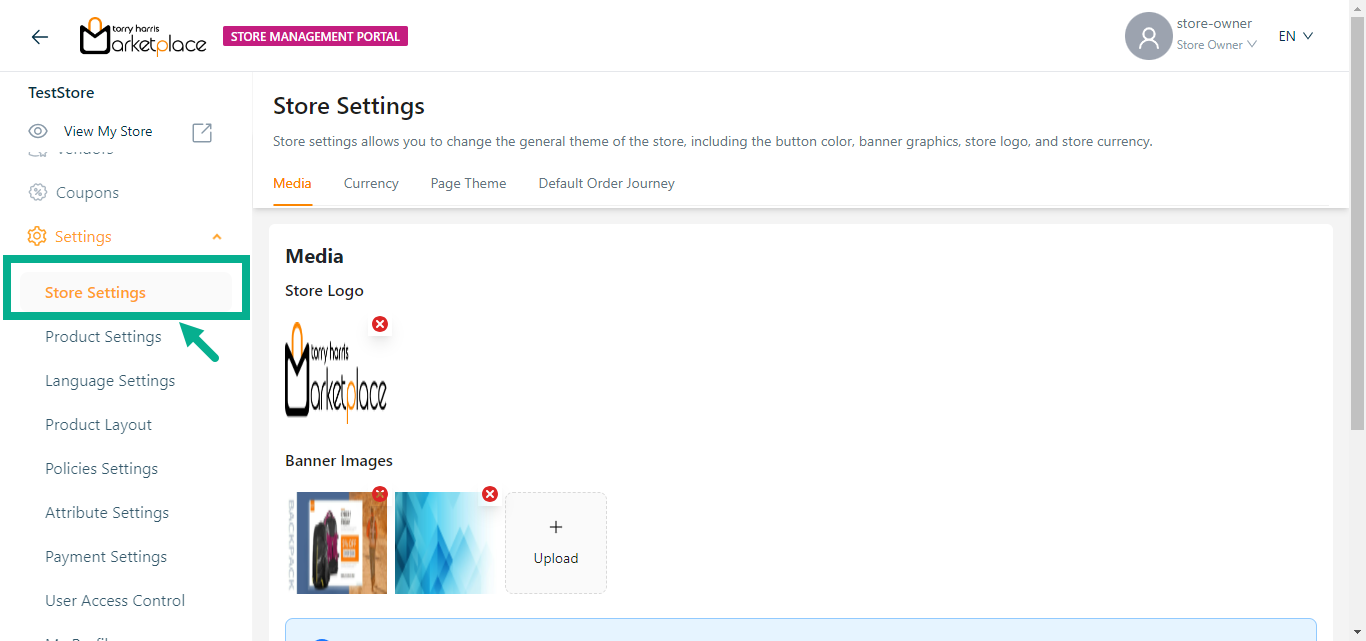
The Store Logo and Banner Images set up in the admin portal when updating store data are displayed in store settings; the user may edit the Store Logo and Banner Images if required.
- Click Upload to upload the Store Logo, and Banner Images from your local drive.
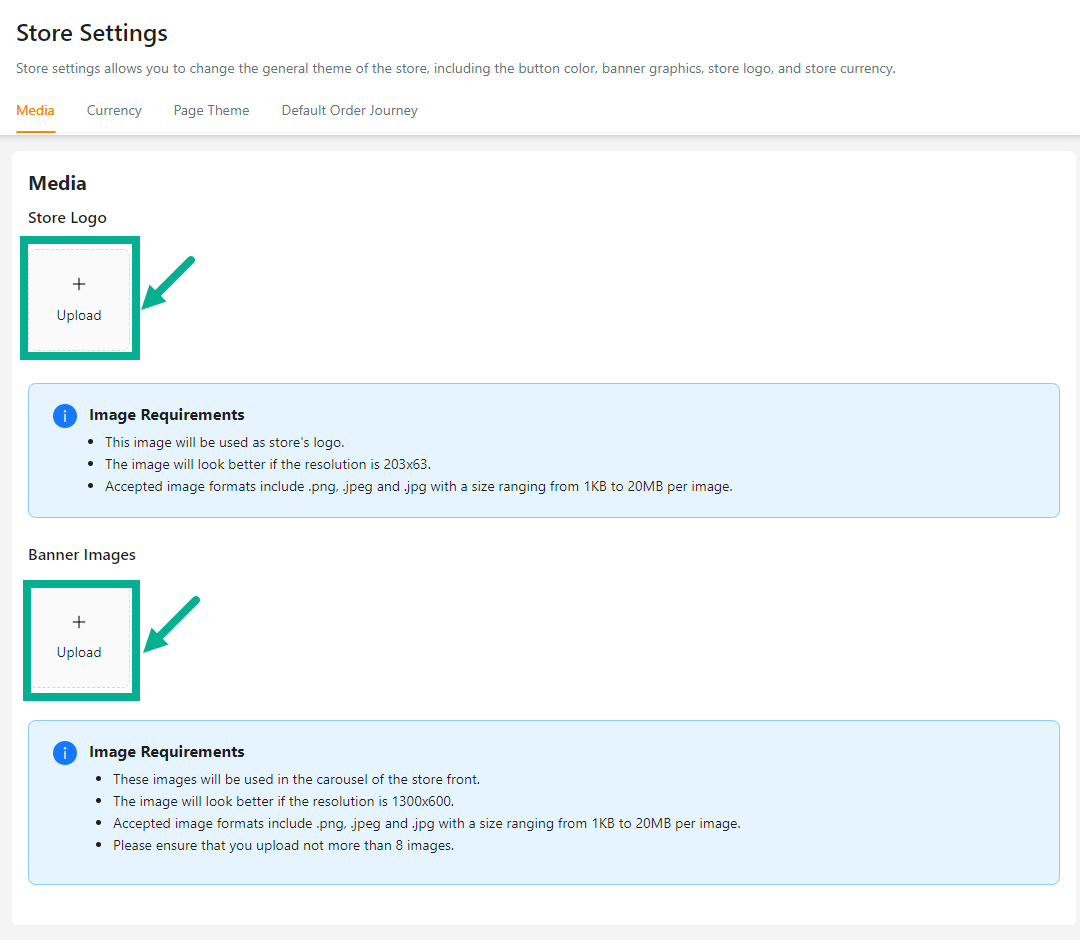
Maximum of 8 images can be uploaded for banner images.
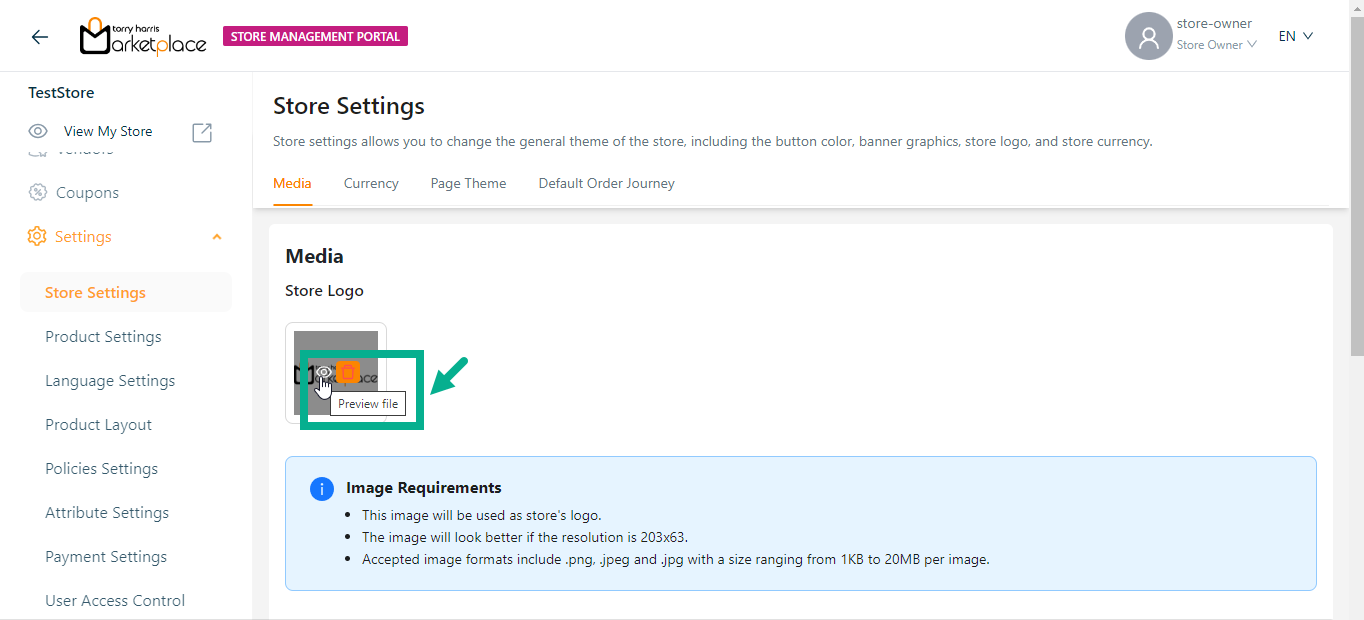
Click Preview icon to preview the images respectively.
Click Delete icon to delete the Store Logo and Banner Images respectively.
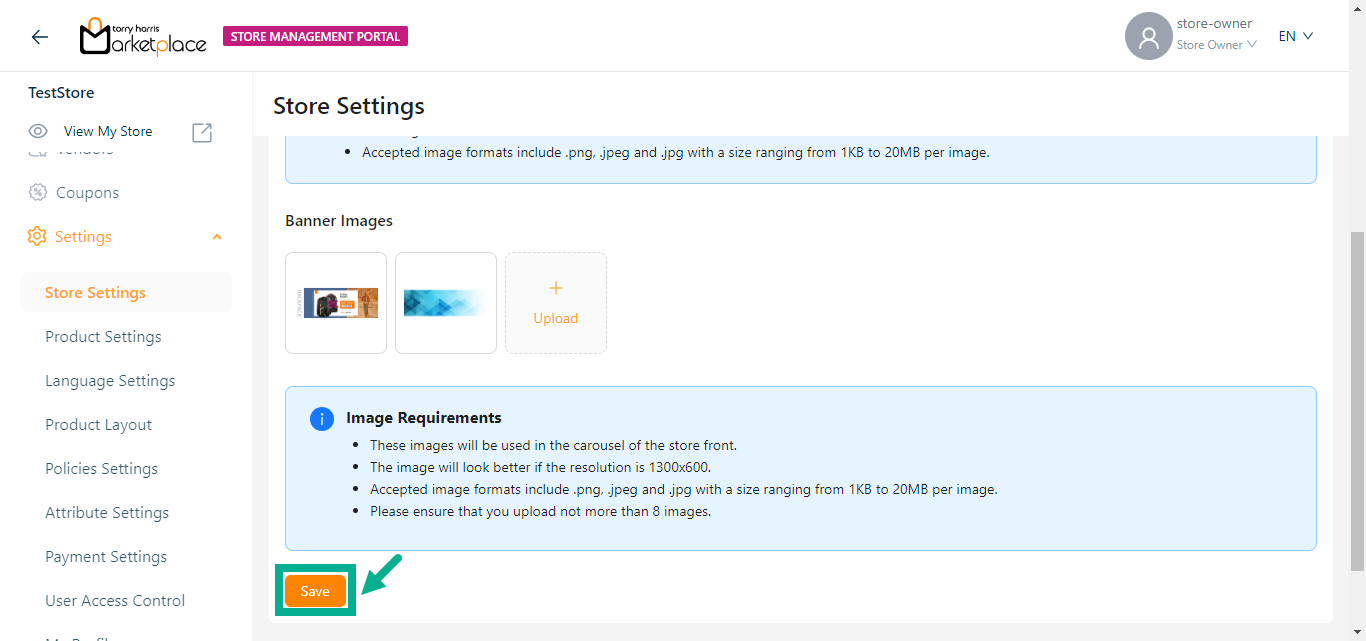
- Click Save.
On saving, the confirmation message appears as shown below.

- Click the Currency tab, and Choose a Store Currency from the dropdown.
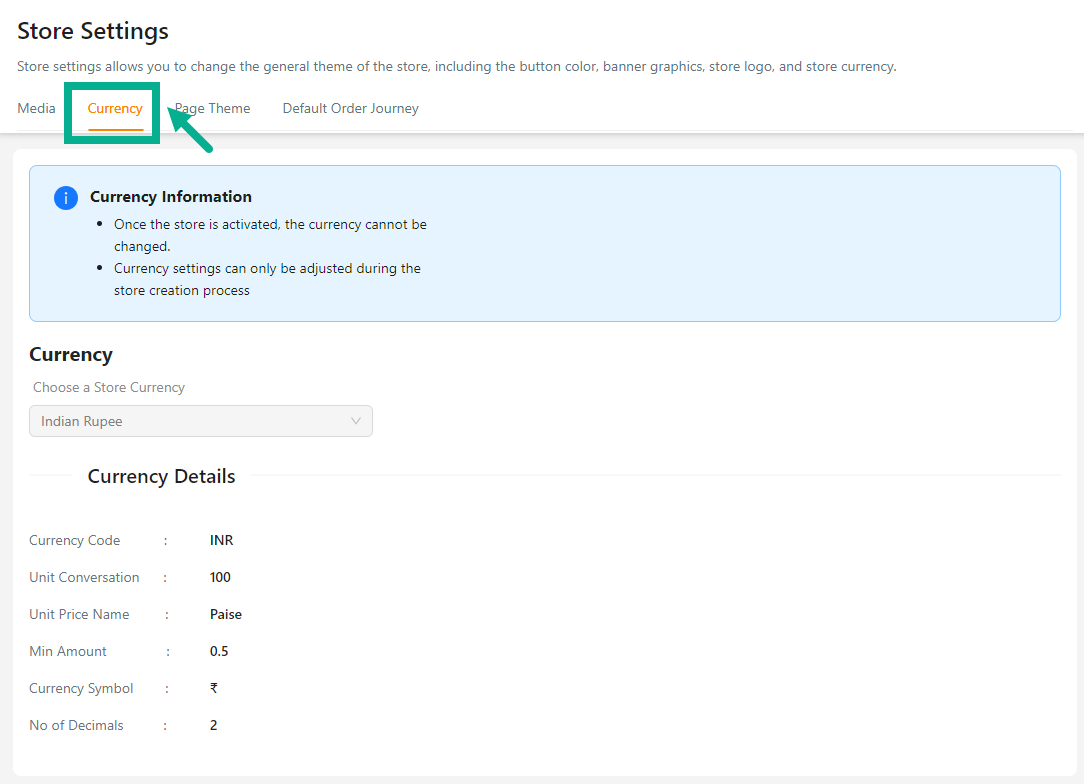
Store currency can be changed before a product is created in the storefront, but it cannot be changed after the product has been created.
- Click Save.
On saving, the confirmation message appears as shown below.

- Click the Page Theme tab and select the Page Theme using the corresponding color picker as needed.
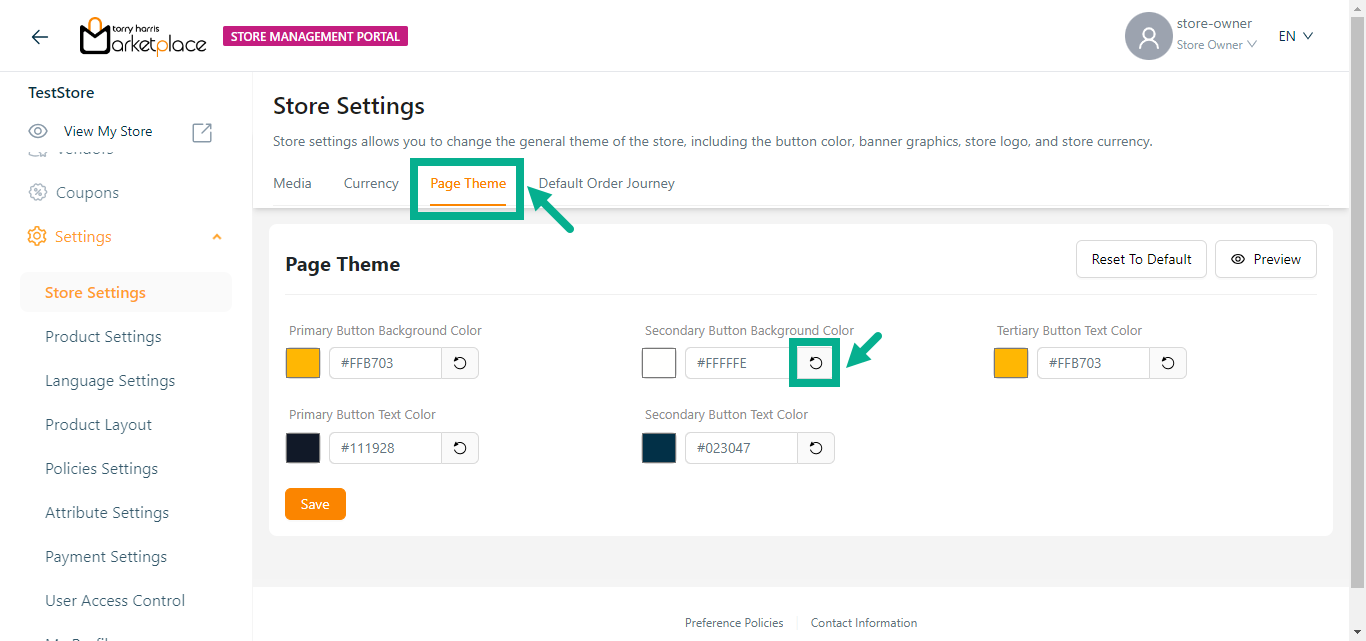
Click the Preview button to preview the Page Theme color codes.
Click the Reset To Default button to reset the updated Page Theme values to the default value.
Click the Undo Changes icon to undo the selected color.
- Click Save.
On saving, the confirmation message appears as shown below.

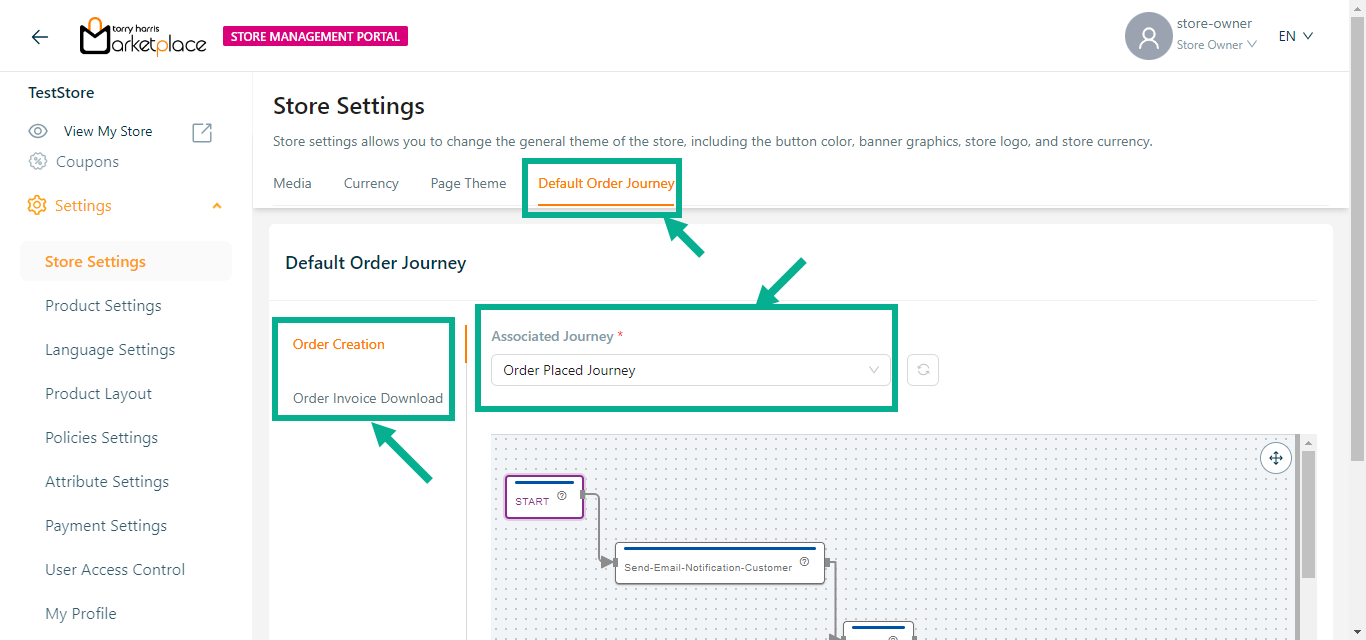
- Click the Default Order Journey tab and select Associated Journey from the dropdown for Order Creation and Order Invoice Download.